November Special Offer - 5% OFF SITEWIDE!
Use code:
Valid until Nov 30
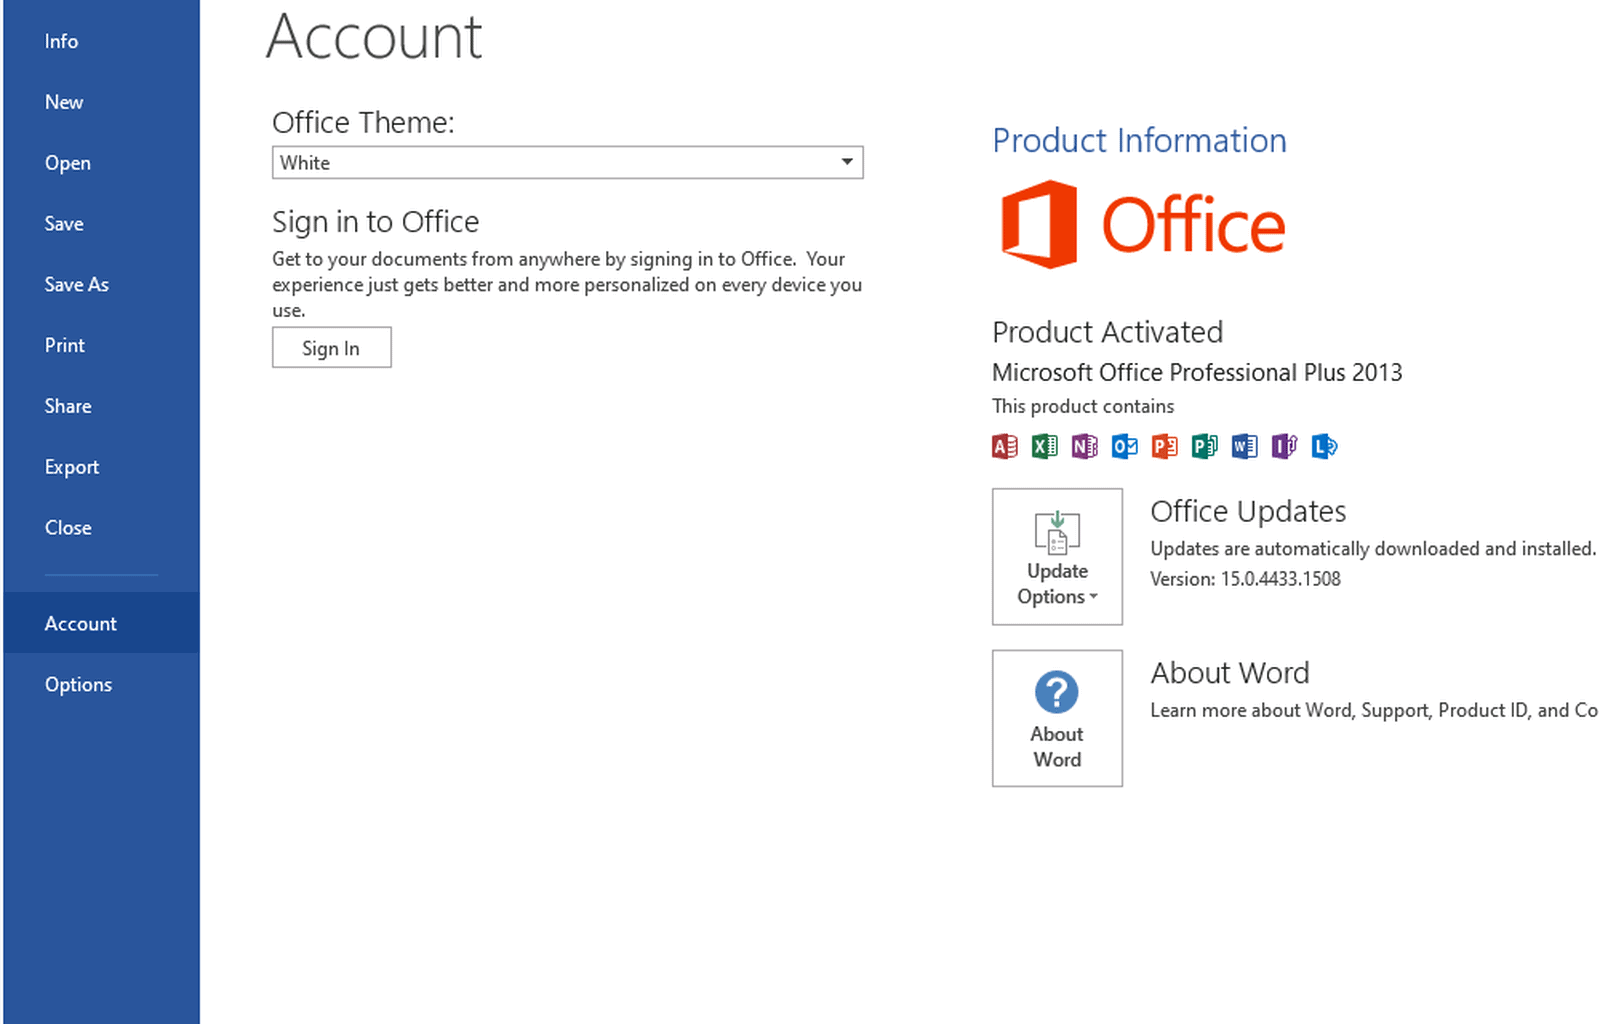
Do you have an Office 2013 Professional Plus CID License? A CID license is activated with a Confirmation ID from Microsoft's own activation portal. Many times it activates online as soon as you enter your key, and then you are done. If Office shows an error, you use the Confirmation ID method. This guide shows the whole process, step by step, with real screenshots.
IMPORTANT: Many times your license activates online by itself, in a few seconds, and then you don't need anything else. If Office shows an activation error, you complete the activation with the Confirmation ID, as shown in section 3.
IMPORTANT: You only need an internet connection. We recommend uninstalling any other version of Office, including Office 365, and restarting your computer before you start.
Download the installer from the Download tab of the Office 2013 Professional Plus CID product page. It is the retail version, hosted on our Google Drive: use this one, because the volume license (VL) version does not accept this key. If Google Drive warns that it can't scan the file for viruses, click "Download anyway".

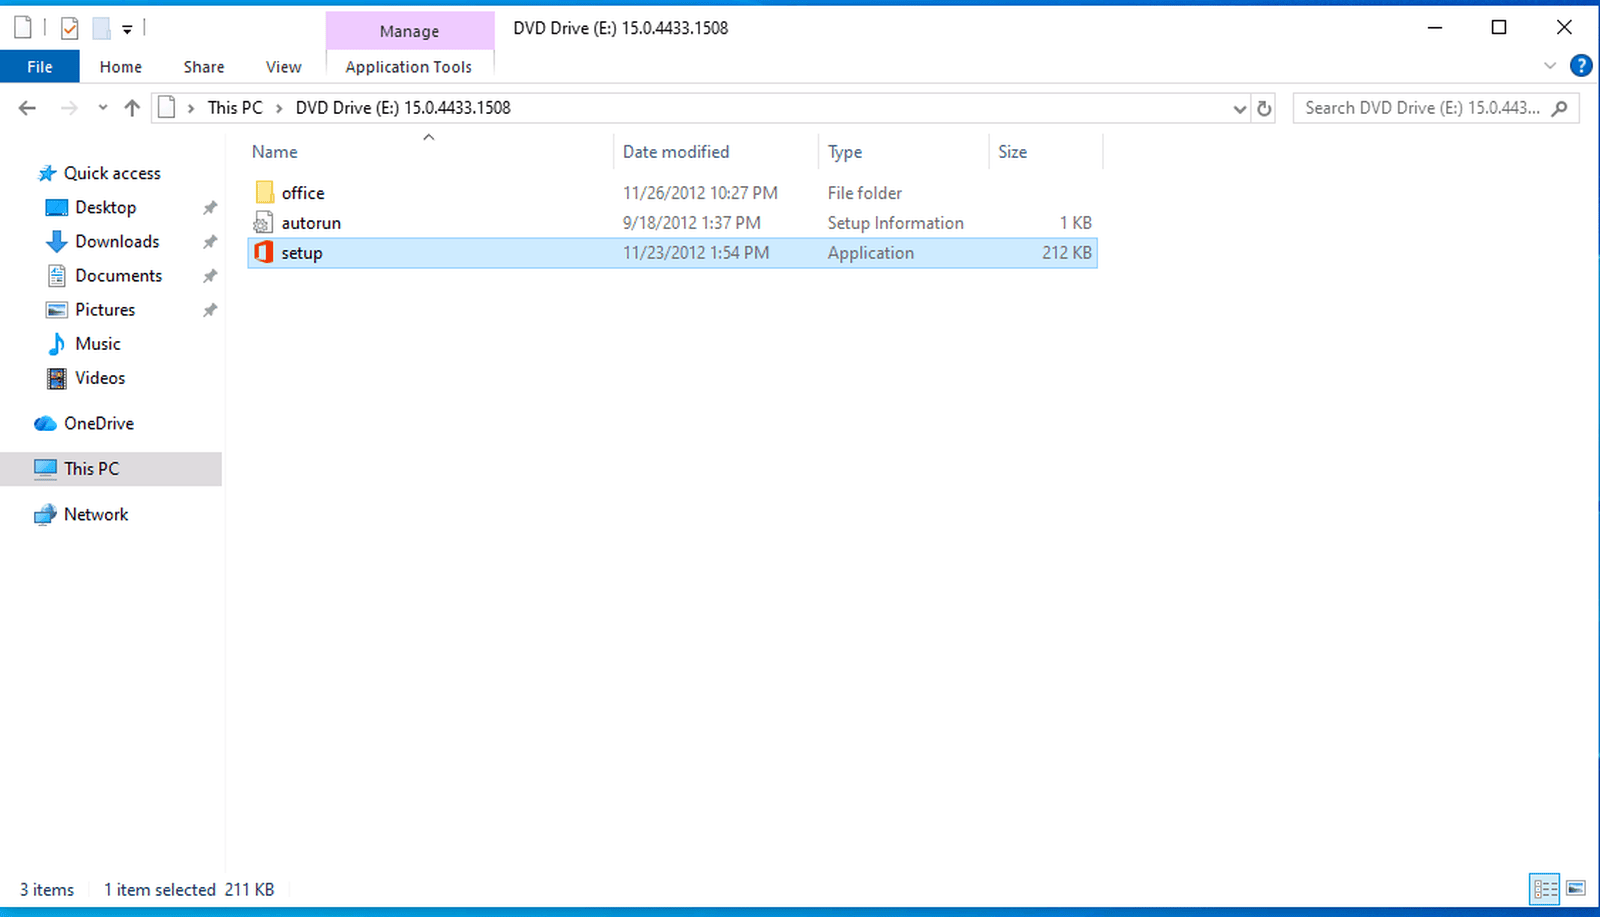
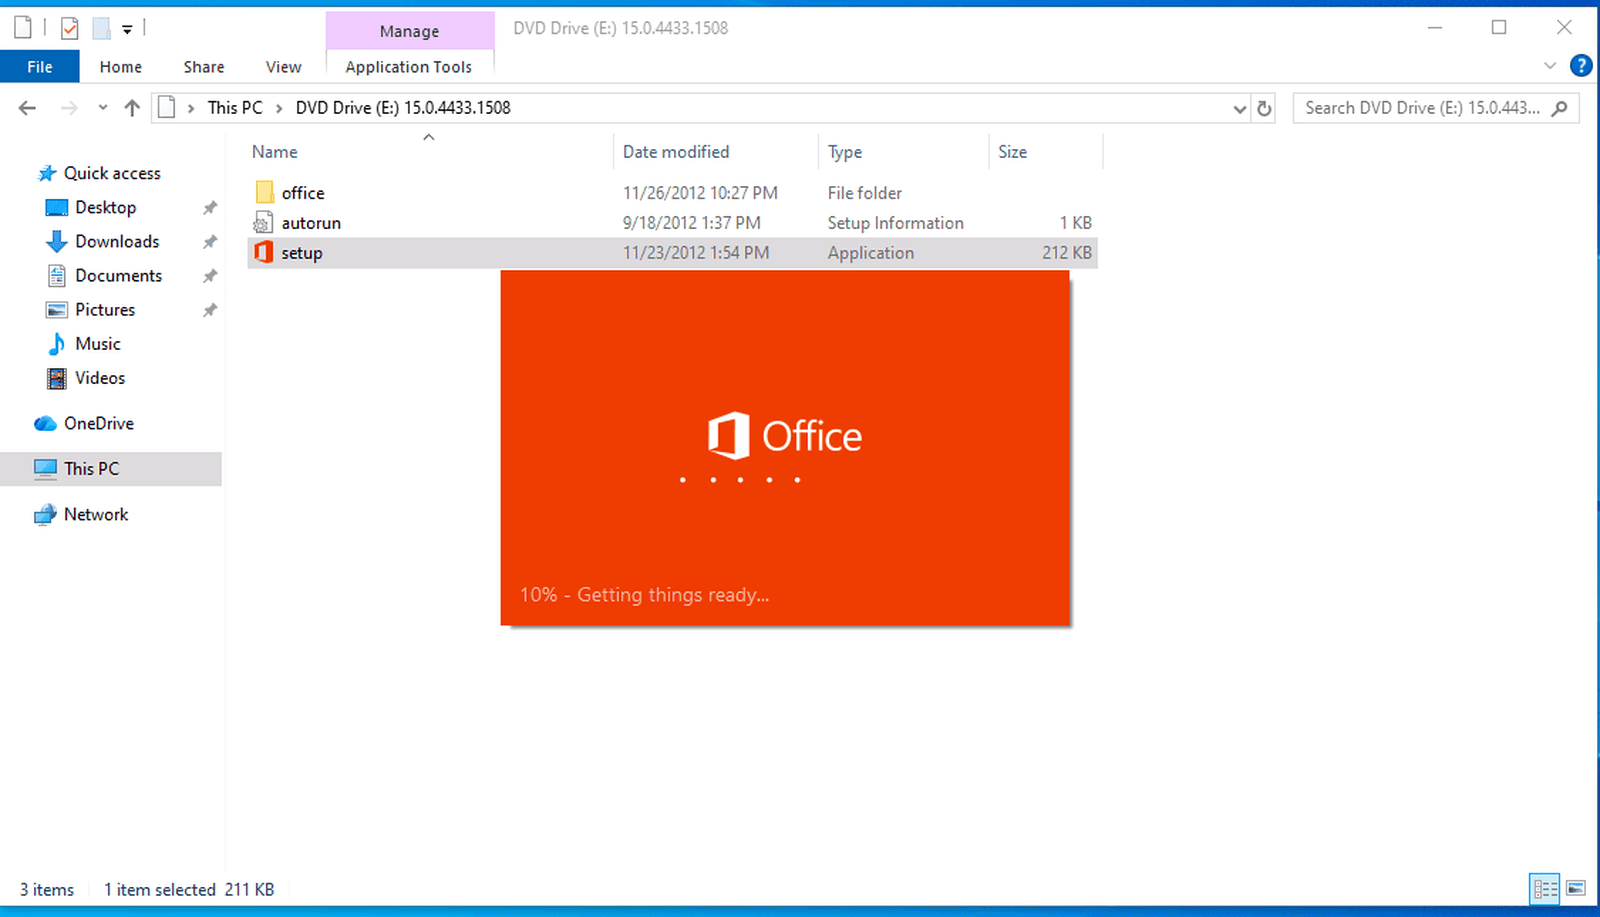
1.1 Once the .img file has downloaded, double-click it to mount it, and run "setup".
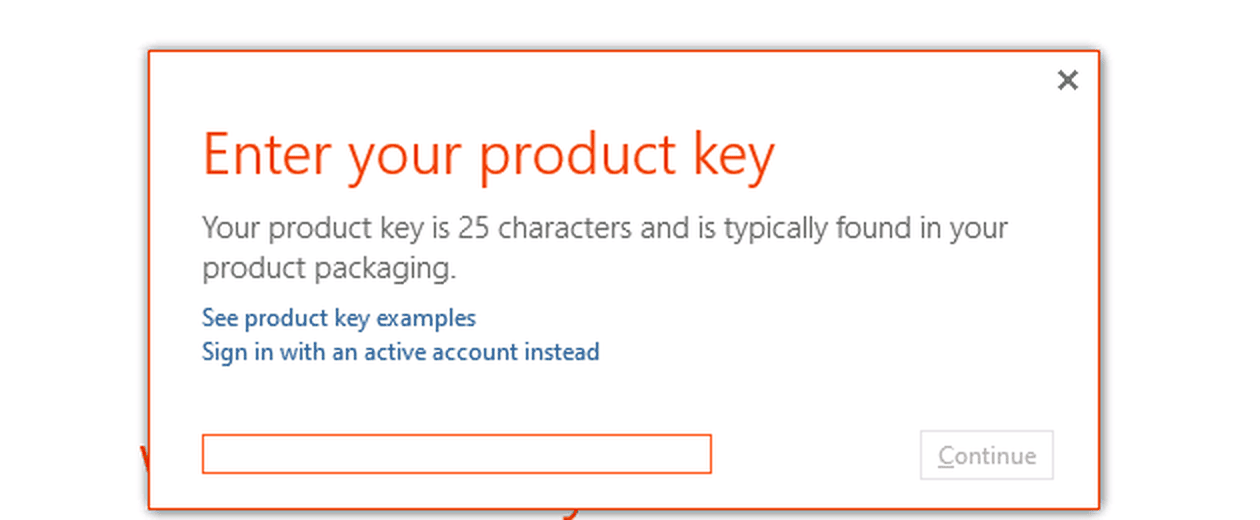
1.2 Type your Office 2013 license key in the "Enter your product key" window and click "Continue".
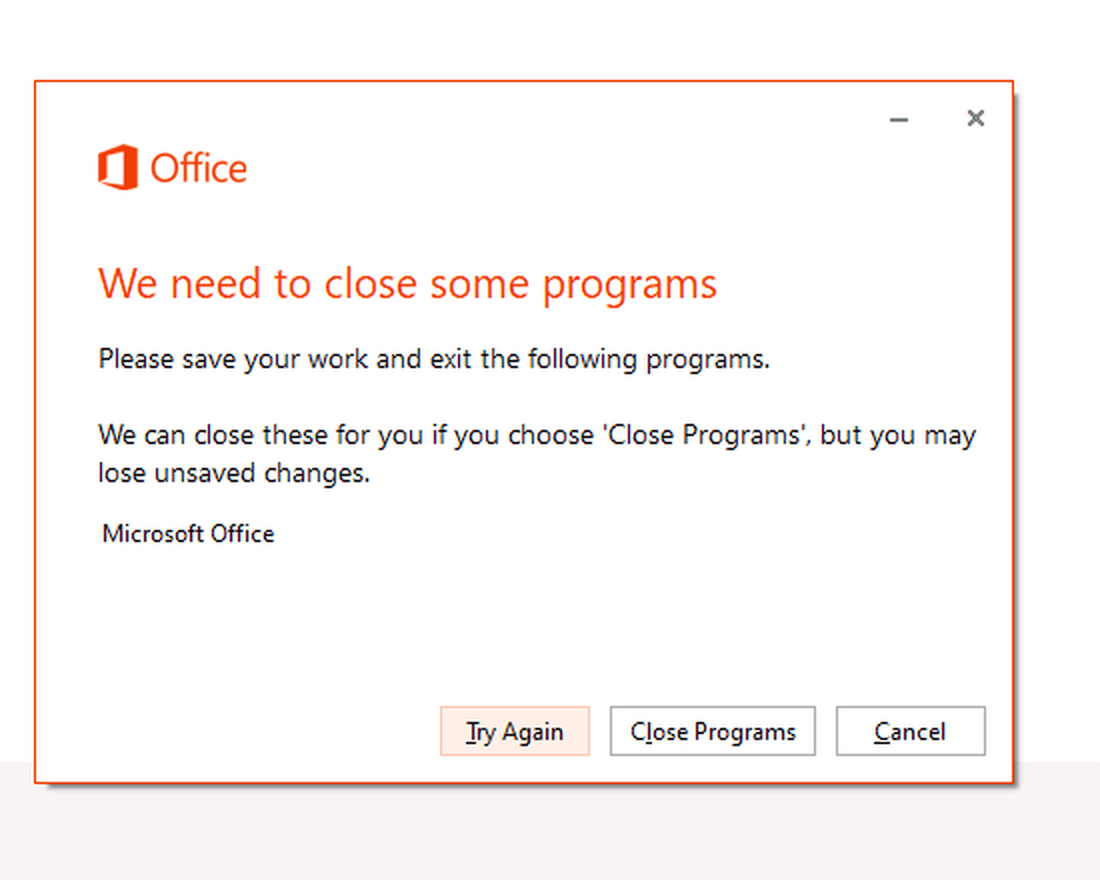
1.3 If Office asks you to close open programs, save your work and click "Close Programs".
1.4 Wait until the installation finishes. It usually takes 10 to 15 minutes.
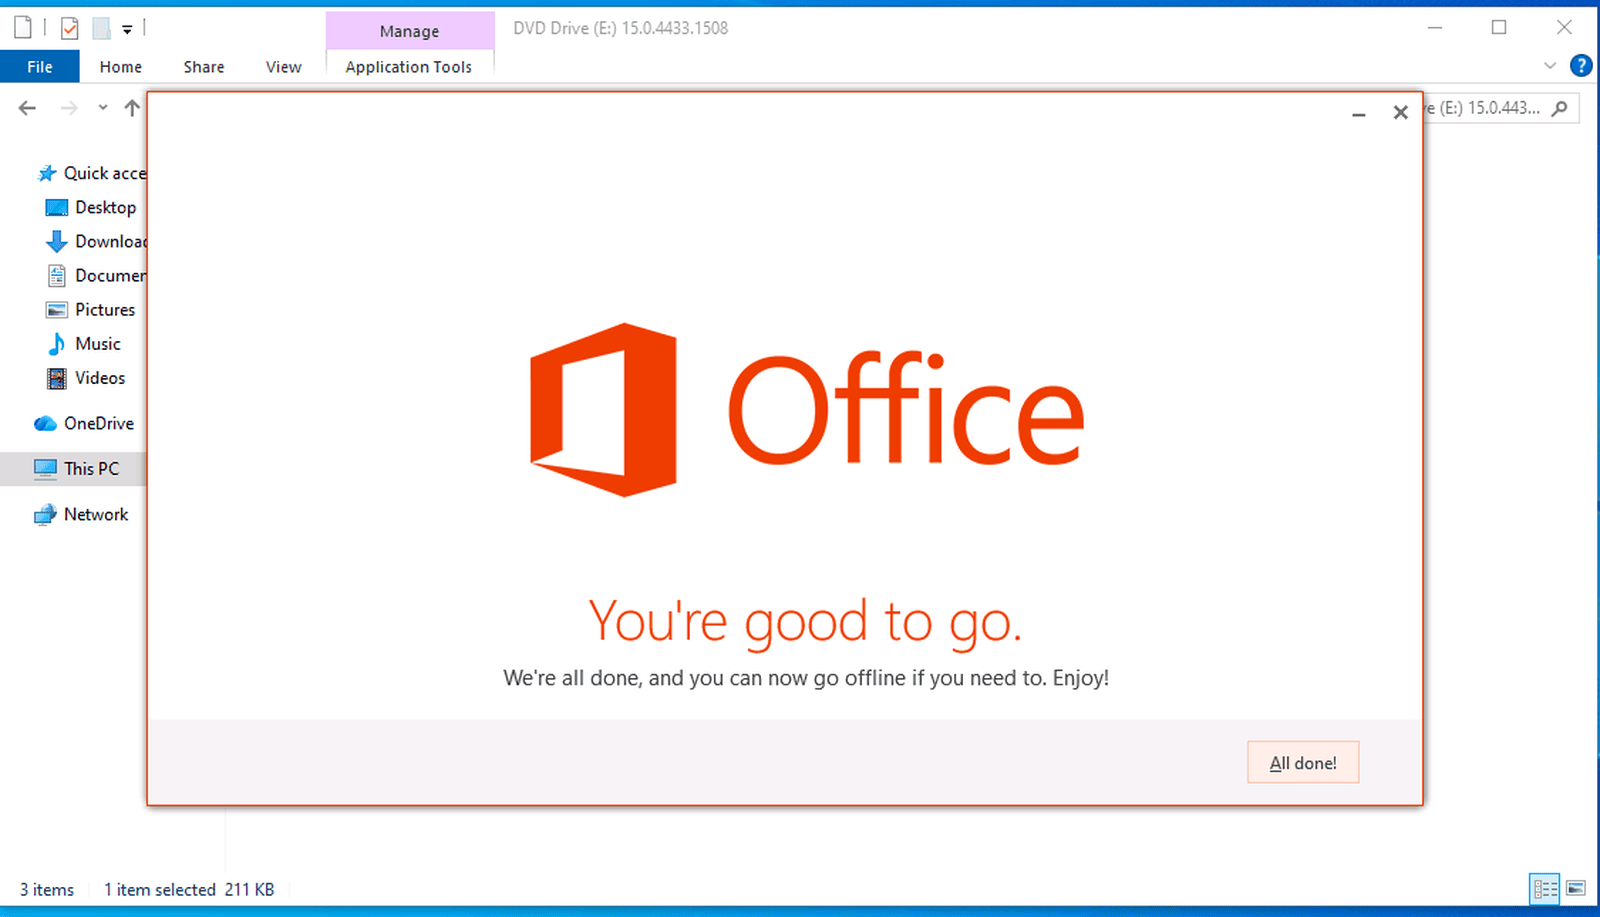
1.5 When you see "You're good to go", the installation is complete. Click "All done!".
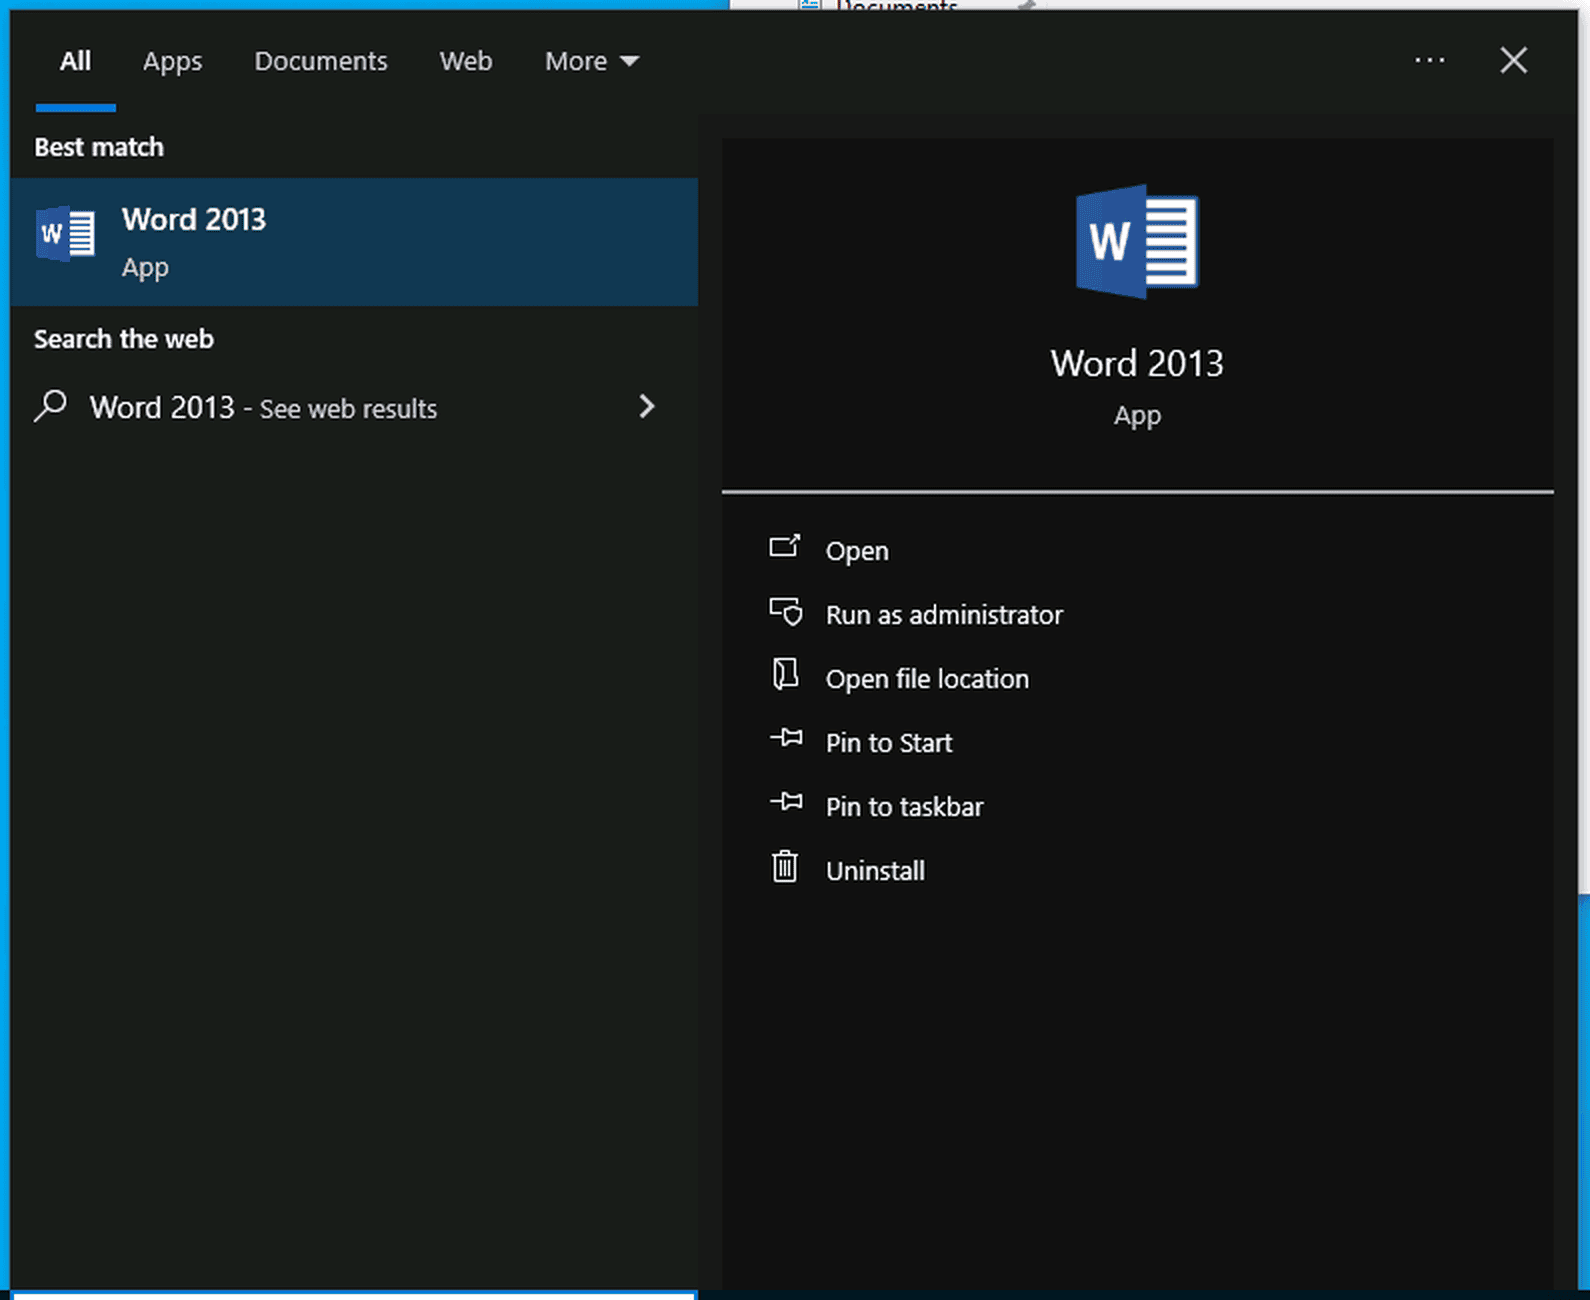
2.1 Open the Start menu, type "Word 2013" and press Enter.
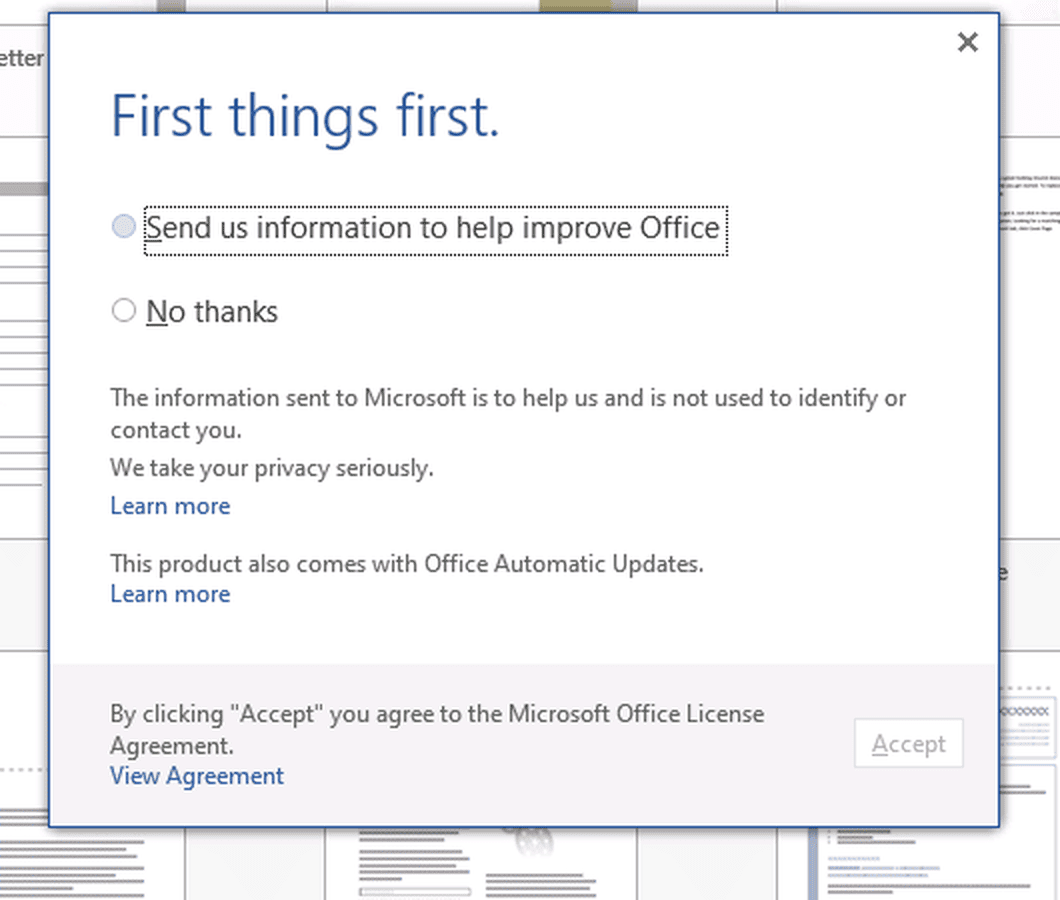
2.2 On the "First things first" window, choose an option and click "Accept".
2.3 Click "File", then "Account". If you see "Product Activated", your license is activated and you are done.
3.1 Open any Office application, for example Word. If the activation window asks how you want to activate, select "I want to activate the software by telephone" and click "Next". That is just the name Microsoft gives to this option: you won't call anyone, and everything is done online.
3.2 The window shows your Installation ID, 63 digits in nine blocks. Keep this window open and take a screenshot of it. Then upload the screenshot to our Installation ID Extractor to copy the Installation ID without mistakes.
3.3 Go to the Microsoft activation page and sign in with your Microsoft account. Click "Activate a Microsoft Product", select "Microsoft Office", choose Office 2013, paste your Installation ID and click "Submit". If the page asks on how many devices the product is installed, enter 1.
3.4 The page shows your Confirmation ID in eight blocks, from A to H. Go back to the Office activation window, type the blocks in boxes A to H and click "Next". When the window says the product was activated successfully, click "Close".
Do you want to see the Microsoft portal steps with screenshots? Read our guide How to Install and Activate Microsoft Office 2021 Professional Plus via CID: the portal steps are the same.
IMPORTANT: If an error appears on the Microsoft website, switch to another network (for example, your phone's hotspot) and try again. If you need help, use our live chat or WhatsApp at licendeals.com: we are here for you 24/7.
{n} from {l} bought
{n} bought
Someone from {l} bought
Someone bought
Just now
1 minute ago
2 minutes ago
1 hour ago
2 hours ago
1 day ago
2 days ago
Close


 Windows
 Office for PC
 Office for Mac
 Windows Server
 SQL Server
 Office Apps
 Visual Studio

